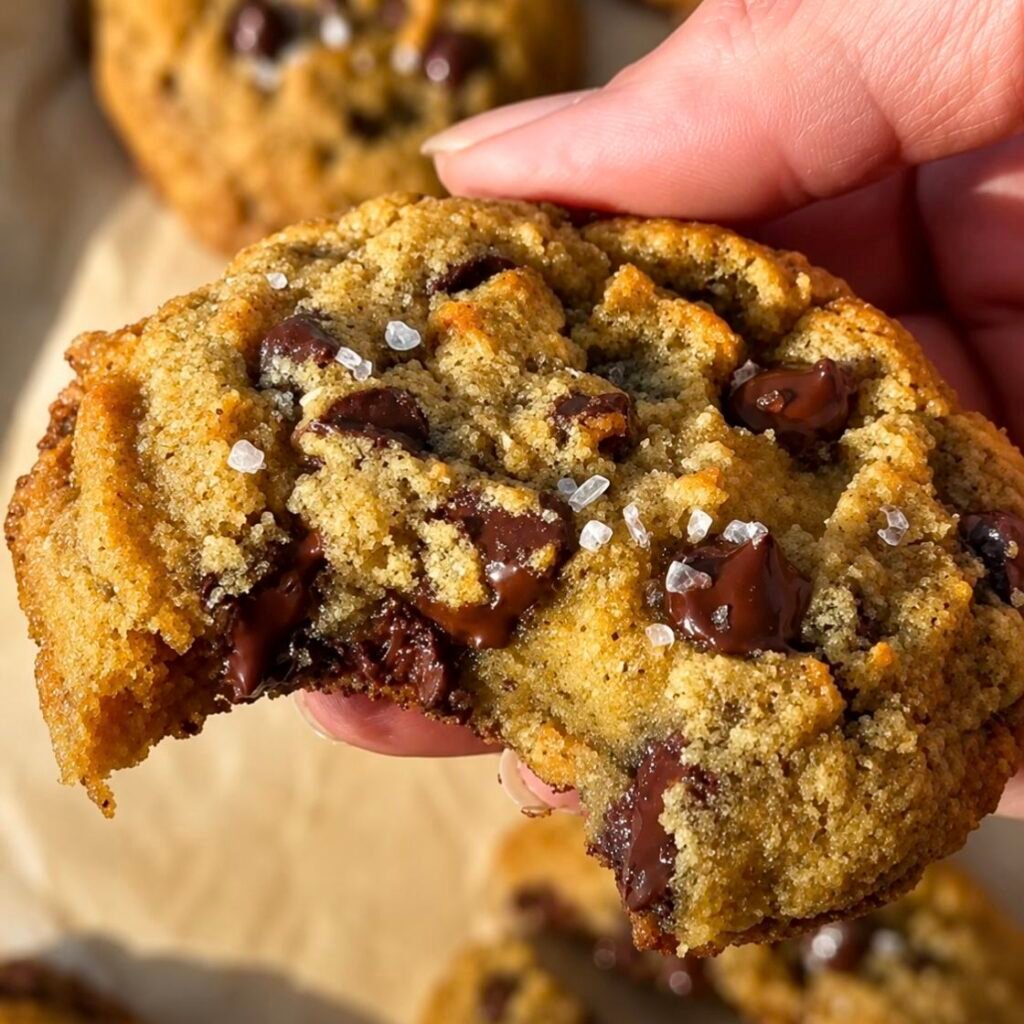
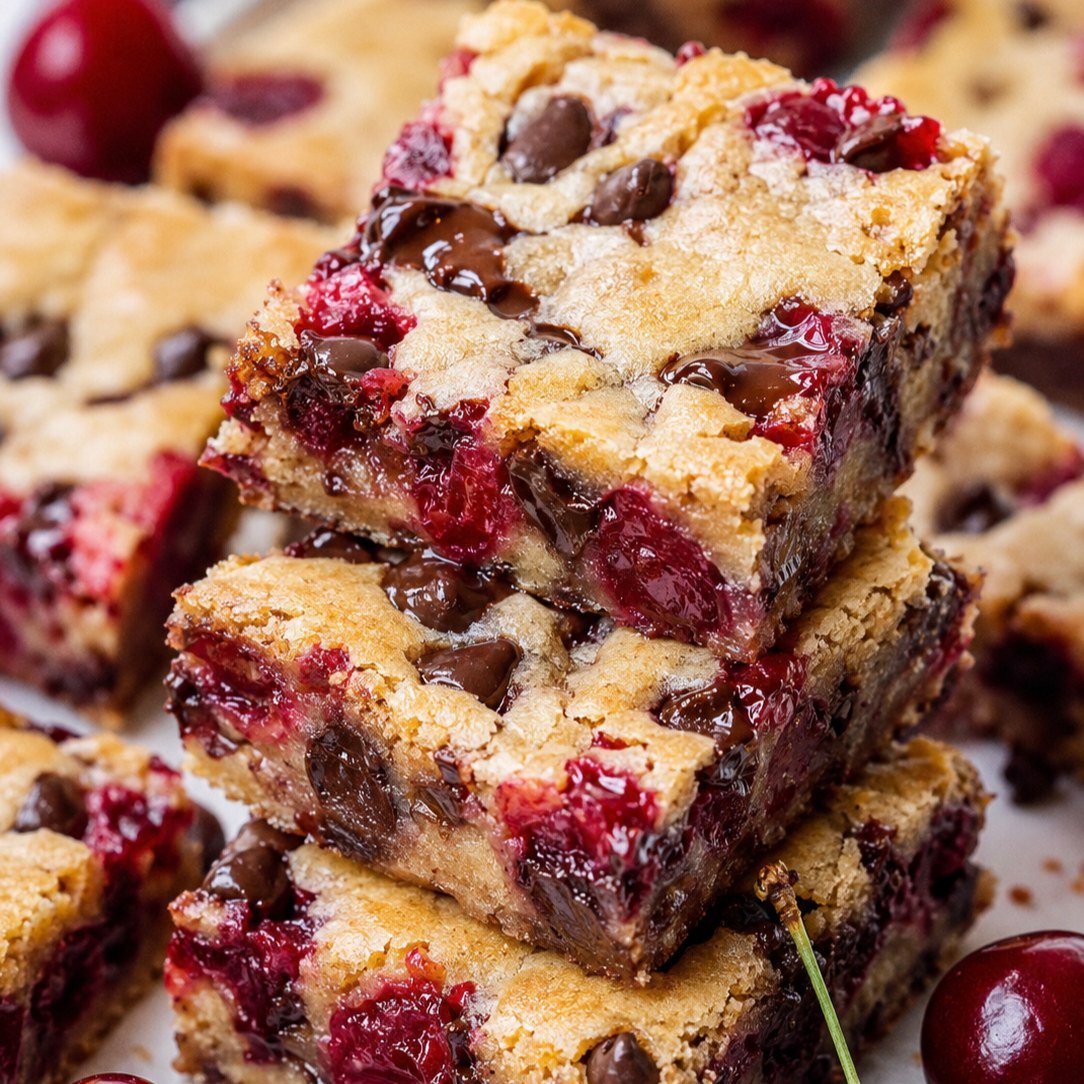
If you love combination of rich chocolate and juicy cherries, these Chocolate Chip Cherry Bars are an easy dessert you’ll want to keep in your regular baking rotation. They’re soft and chewy in center, lightly golden around the edges, and loaded with sweet cherries and plenty of chocolate chips.
Unlike a layer cake or complicated pastry, these cherry bars come together in one bowl with simple pantry ingredients. They’re perfect for afternoon treats, bake sales, potlucks, holiday cookie trays, or whenever you want a homemade dessert without spending hours in the kitchen.
The combination of buttery brown sugar, vanilla, chocolate, and cherries gives every bite a delicious balance of sweet, fruity, and chocolatey flavors.
Why You’ll Love These Chocolate Chip Cherry Bars
- Soft and chewy texture with golden edges
- Easy one-bowl preparation
- Uses simple everyday ingredients
- Sweet cherries pair beautifully with chocolate
- No need to scoop individual cookies
- Perfect for parties, potlucks, and bake sales
- Easy to make ahead
- Delicious warm or completely cooled
- Great with a scoop of vanilla ice cream
Ingredients
For the Cherry Bars
- 1 cup unsalted butter, melted and slightly cooled
- 1 cup packed light brown sugar
- ½ cup granulated sugar
- 2 large eggs
- 2 teaspoons vanilla extract
- 2 cups all-purpose flour
- 1 teaspoon baking powder
- ½ teaspoon salt
- 1 cup semi-sweet chocolate chips
- 1 cup pitted cherries, chopped and well drained
Fresh cherries are wonderful when they’re in season, but frozen or jarred cherries can also work. Important thing is to remove as much excess moisture as possible so the bars don’t become soggy.
Optional Topping
- ¼ cup extra chocolate chips
- ¼ cup chopped cherries
- Powdered sugar, for dusting
Why These Ingredients Work
- Brown sugar gives the bars their soft, chewy texture and adds a subtle caramel flavor.
- Melted butter creates a rich, tender crumb while making the batter quick to mix.
- Eggs help bind the ingredients together and give the bars structure.
- Chocolate chips provide creamy pockets of chocolate throughout bars. Semi-sweet chocolate is a great choice because it balances sweetness of the cherries.
- Cherries add bright fruity flavor and a little natural tartness that keeps the dessert from tasting overly sweet.
Ingredient Substitutions
- Butter: Salted butter can be used. If you do, reduce the added salt slightly.
- Chocolate chips: Use milk chocolate, dark chocolate, or white chocolate chips depending on your preference.
- Cherries: Fresh, frozen, or well-drained jarred cherries can be used.
- Gluten-free: Use a quality 1-to-1 gluten-free all-purpose flour blend.
- Brown sugar: Dark brown sugar can be substituted for a deeper molasses flavor.
- Dairy-free: Use a plant-based butter substitute and dairy-free chocolate chips.
Kitchen Tools Needed
- 8×8-inch or 9×9-inch baking pan
- Parchment paper
- Large mixing bowl
- Whisk
- Rubber spatula
- Measuring cups and spoons
- Cherry pitter, if using fresh cherries
- Wire cooling rack
How to Make Chocolate Chip Cherry Bars
1. Prepare Pan
Preheat your oven to 350°F.
Line an 8×8-inch or 9×9-inch baking pan with parchment paper, leaving some overhang on the sides. This makes it much easier to lift the cooled bars out of the pan.
Lightly grease the parchment if desired.
2. Prepare Cherries
If using fresh cherries, remove the pits and chop them into small pieces.
If you’re using frozen or jarred cherries, drain them thoroughly and gently pat them dry with paper towels. Excess moisture is one of the easiest ways to end up with soft or underbaked bars.
3. Mix the Wet Ingredients
Add the melted butter, brown sugar, and granulated sugar to a large bowl.
Whisk until smooth and glossy. Add the eggs and vanilla extract, then whisk again until everything is well combined.
4. Add the Dry Ingredients
Add the flour, baking powder, and salt.
Use a rubber spatula to gently mix until no large streaks of flour remain. Don’t overmix the batter because too much mixing can make the finished bars less tender.
5. Add Chocolate and Cherries
Fold in the chocolate chips and chopped cherries.
Reserve a few chocolate chips and cherry pieces for the top if you’d like a more attractive finish.
The batter will be thick, which is exactly what you want.
6. Spread Into the Pan
Transfer the batter to the prepared pan.
Use a spatula to spread it evenly into the corners. Sprinkle the reserved chocolate chips and cherries over the top.
7. Bake
Bake for approximately 25–32 minutes, depending on the size of your pan and your oven.
The edges should be lightly golden, while the center should look set but still slightly soft. A toothpick inserted near the center should come out with a few moist crumbs rather than wet batter.
Avoid overbaking if you want that soft, chewy texture.
8. Cool Completely
Let the bars cool in the pan for at least 30 minutes before slicing.
For the cleanest cuts, allow them to cool completely and then lift them out using the parchment paper.
Cut into squares or rectangles and serve.
Pro Tips for the Best Cherry Bars
Drain the cherries well
This is especially important when using frozen or jarred cherries. Extra liquid can affect the texture and make the middle take longer to bake.
Don’t overmix
Once the flour is incorporated, stop mixing. Overworking the batter can develop too much gluten and make the bars tougher.
Don’t overbake
The center should look just set when you remove the pan from the oven. The residual heat will continue cooking the bars as they cool.
Let them cool before slicing
Warm bars can be difficult to cut neatly. Give them time to firm up before slicing.
Use parchment paper
Parchment makes removing and cutting the bars much easier and keeps cleanup simple.
Variations
Dark Chocolate Cherry Bars
Replace the semi-sweet chocolate chips with dark chocolate chips for a richer, less sweet dessert.
White Chocolate Cherry Bars
White chocolate and cherries make a particularly sweet and creamy combination.
Chocolate Cherry Almond Bars
Add ½ teaspoon almond extract and ½ cup sliced almonds for a classic cherry-almond flavor.
Double Chocolate Cherry Bars
Add ¼ cup unsweetened cocoa powder to the flour mixture and use chocolate chips for an extra chocolatey version. You may need a small adjustment to the flour depending on the consistency of the batter.
Cherry Walnut Bars
Fold in ½ cup chopped walnuts for extra crunch and a nutty flavor.
What to Serve With Chocolate Chip Cherry Bars
These bars are delicious on their own, but you can make them even more special with:
- Vanilla ice cream
- Whipped cream
- Fresh cherries
- Chocolate sauce
- Powdered sugar
- Fresh berries
- A cup of coffee
- Cold milk
- Vanilla latte
For a warm dessert, microwave an individual bar for about 10–15 seconds and serve it with a scoop of vanilla ice cream.
Storage Instructions
Room Temperature
Store completely cooled bars in an airtight container at room temperature for up to 4 days.
Place parchment paper between layers if you’re stacking them.
Refrigerator
For longer storage, refrigerate the bars in an airtight container for up to 1 week. Let them sit at room temperature for a few minutes before serving for the best texture.
Freezer
Wrap individual bars tightly in plastic wrap and place them in a freezer-safe container or bag.
Freeze for up to 3 months. Thaw at room temperature before serving.
Make-Ahead Tips
These bars are excellent for make-ahead baking.
Bake them a day before serving and store them in an airtight container once completely cooled. The flavors have time to settle, and the bars remain soft and chewy.
You can also prepare the batter shortly before baking, but for the best results, bake it immediately after mixing rather than letting the batter sit for an extended period.
Frequently Asked Questions
Can I use frozen cherries?
Yes. Thaw frozen cherries completely, drain them well, and pat them dry before chopping and adding them to the batter.
Can I use maraschino cherries?
Yes, but drain and pat them dry first. Keep in mind that maraschino cherries are sweeter than fresh cherries and will give the bars a different flavor.
Why are my cherry bars too wet in the middle?
Excess moisture from the cherries is a common reason. Make sure the cherries are thoroughly drained and dried before adding them.
How do I know when the bars are done?
The edges should be lightly golden and the center should look set but still slightly soft. A toothpick should come out with moist crumbs rather than raw batter.
Can I use different chocolate chips?
Absolutely. Semi-sweet, dark, milk, and white chocolate chips all work well with cherries.
Can I make these bars gluten-free?
Yes. Substitute the all-purpose flour with a reliable 1-to-1 gluten-free baking flour.
Can I freeze chocolate chip cherry bars?
Yes. Wrap them individually and freeze for up to 3 months. Thaw at room temperature before serving.
How should I cut the bars neatly?
Cool the bars completely before slicing. Use a sharp knife and wipe it clean between cuts for smooth edges.
Chocolate Chip Cherry Bars | Soft, Chewy & Easy Dessert
Ingredients
Method
- Preheat the oven to 350°F. Line an 8×8-inch or 9×9-inch baking pan with parchment paper, leaving some overhang for easy removal.
- If using fresh cherries, remove the pits and chop them. If using frozen or jarred cherries, drain them thoroughly and pat them dry with paper towels.
- In a large bowl, whisk together the melted butter, brown sugar, and granulated sugar until smooth.
- Add the eggs and vanilla extract. Whisk until fully combined.
- Add the flour, baking powder, and salt. Gently mix with a spatula until just combined. Avoid overmixing.
- Fold in the chocolate chips and chopped cherries.
- Transfer the thick batter to the prepared pan and spread it evenly into the corners.
- Sprinkle additional chocolate chips and cherries over the top, if desired.
- Bake for 25–32 minutes, or until the edges are lightly golden and the center is set but still slightly soft.
- A toothpick inserted into the center should come out with a few moist crumbs but no wet batter.
- Allow the bars to cool in the pan for at least 30 minutes.
- Lift the bars out using the parchment paper and cut into 16 squares or rectangles.
- Dust with powdered sugar before serving, if desired.