Ingredients
Method
- In a medium saucepan, whisk together the granulated sugar, cornstarch, and salt.
- Gradually whisk in the milk until completely smooth.
- Add the egg yolks and whisk until well combined.
- Place the saucepan over medium heat and cook, whisking constantly.
- Continue cooking until the mixture thickens and reaches a gentle boil.
- Once bubbling, continue cooking for about 1 minute, whisking constantly.
- Remove the saucepan from the heat.
- Whisk in the butter and vanilla extract until the butter melts and the pudding becomes smooth and glossy.
- For an extra-smooth texture, pour the pudding through a fine-mesh strainer into a clean bowl.
- Divide the pudding between serving bowls or glasses.
- Press plastic wrap directly onto the surface if you want to prevent a skin from forming.
- Refrigerate for at least 2 hours, or until chilled and set.
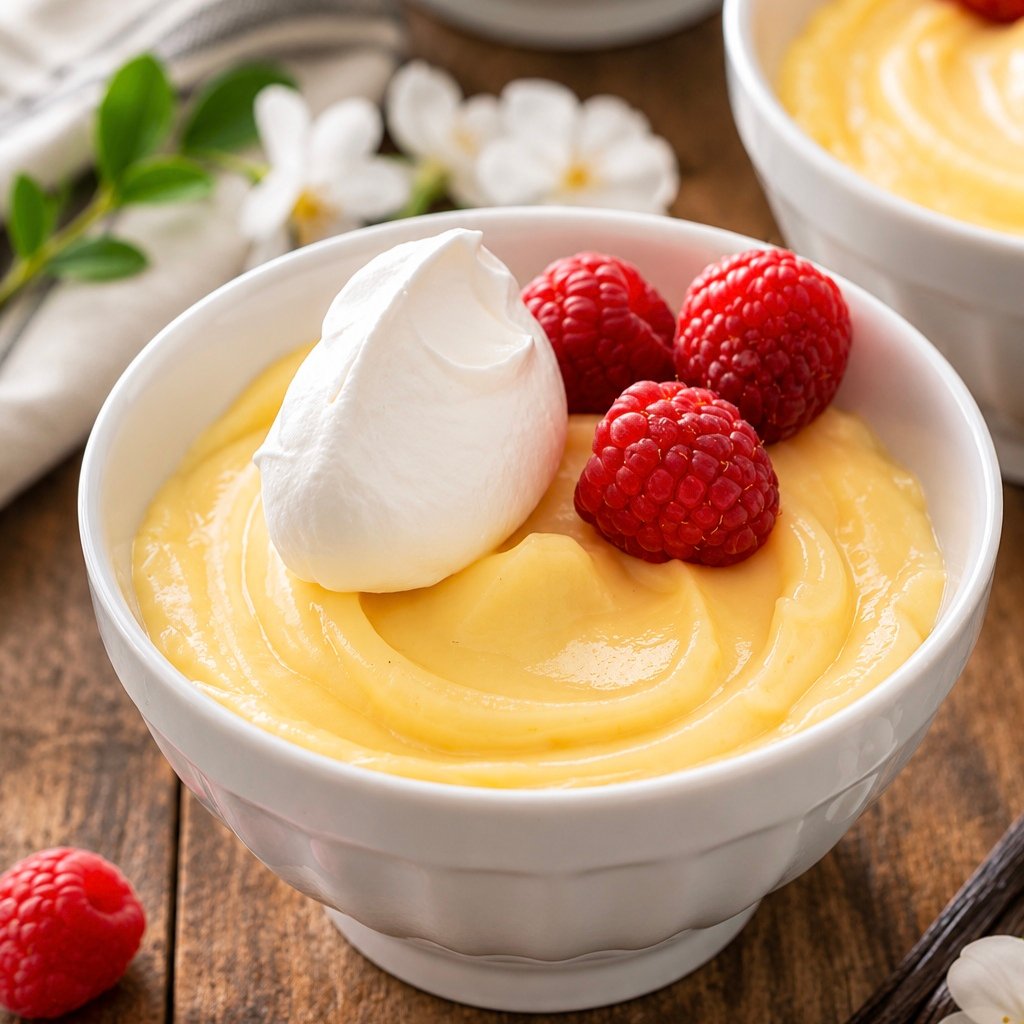
- Top with whipped cream and fresh berries before serving.
Notes
Use whole milk for the richest texture.
Whisk constantly while cooking to prevent lumps and scorching.
Don't cook the pudding over high heat.
The pudding will continue to thicken as it cools.
Add vanilla after removing the pudding from the heat for the best flavor.
Straining the pudding is optional but creates an especially silky texture.
Cover the surface directly with plastic wrap to prevent a skin from forming.